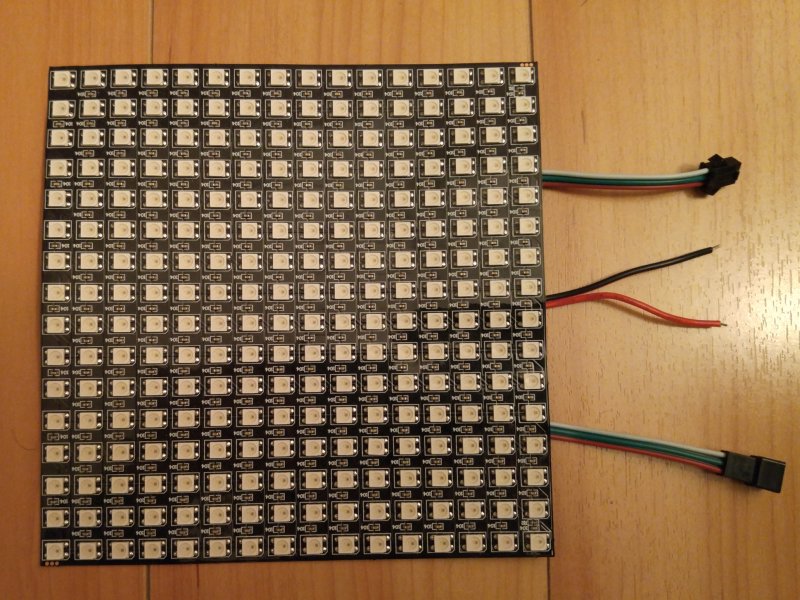
Some months ago, my friend @shypre bought a GPIO powered LED matrix board and some LED strips, very much like the ones from AdaFruit. We decided to do some work on it together.
Stage 0: Setup
The setup portion was fairly straightforward - we connected the LED matrix to a 5 volt power supply, and via GPIO to the RPi. To control the board, we used the rpi_ws281x library, its Python bindings, and a Raspberry Pi 3 Model B.
Originally, our setup ran off PWM mode (GPIO pin 18), but we later switched to SPI (pin 10) since it didn't clash with the RPi's audio or require root to run our scripts.
Stage 1: Experiments
At this point, we've hooked up a mini 16x16 canvas to experiment with. A bit of sifting through the Python library examples revealed two main functions of use: show() and setPixelColorRGB().
Essentially, the drawing library represents the LED matrix as a sequence of LEDs, starting at index 0 and going to 255 for a 16x16 grid. However, we quickly found a hitch: the wiring does not follow a typical Cartesian grid, but rather uses a weaving serpentine pattern.
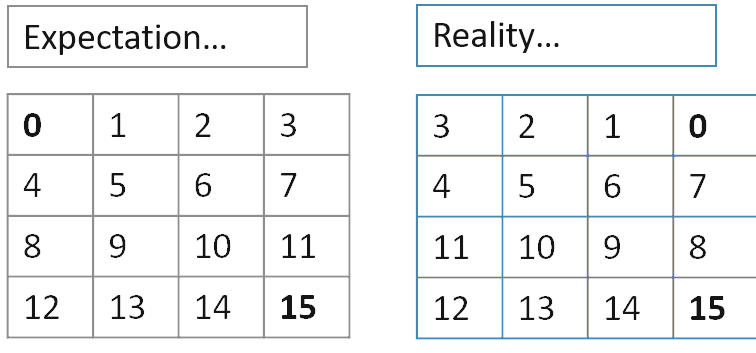
After fiddling around with some quick demo scripts, we realized that we needed a bit more code to simplify working with grids. I decided to port over a simple grid library from games I wrote in the past, and override the coordinate fetching to match the LED pattern.
The grid library is over on GitHub, and aptly named simplegrid. Installation is as simple as
python3 setup.py install (more thorough docs soon™!)
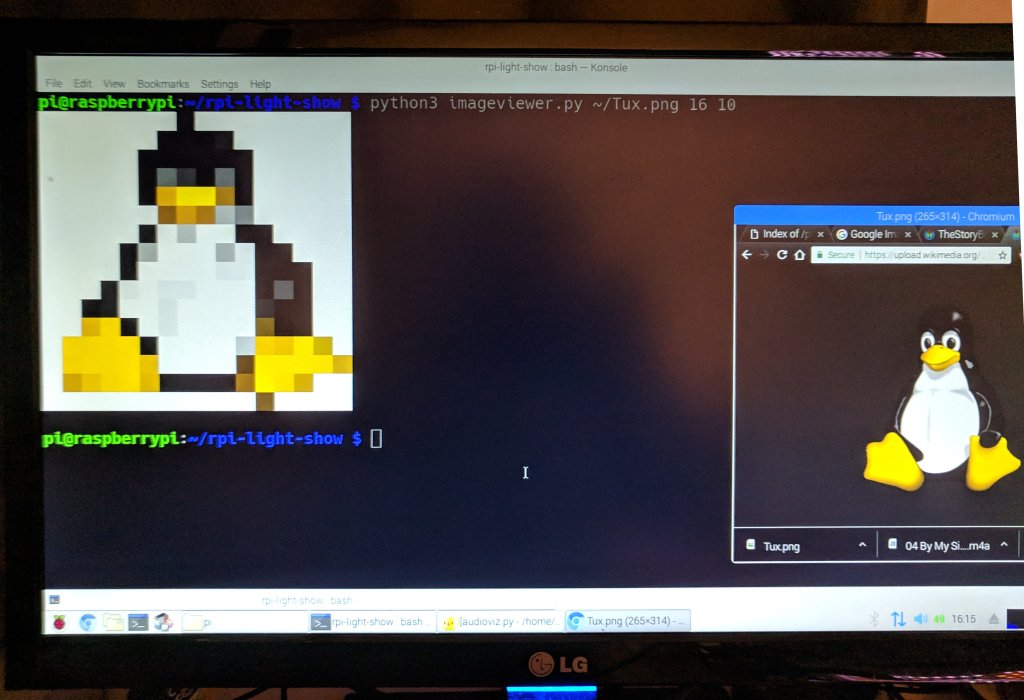
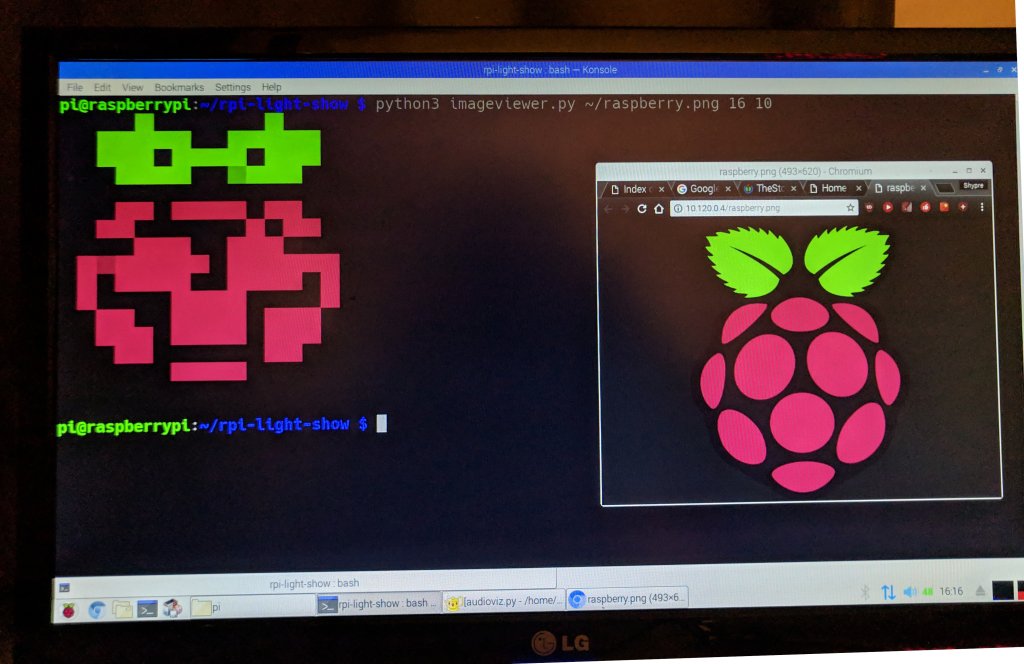
Stage 2: Image Viewer
Our first real project was an image viewer. Basically, it would take in any input image and do a best-effort projection (stretching and scaling) to the LED matrix.
The code here is conceptually fairly simple. First, we use PIL to resize the image and convert it to RGB (removing transparency). Then, we loop over the image's pixels to draw them one by one onto the screen.
def process_image(filename, size):
im = Image.open(filename)
out = im.resize((size, size))
out = out.convert("RGB") # Convert to RGB
return out
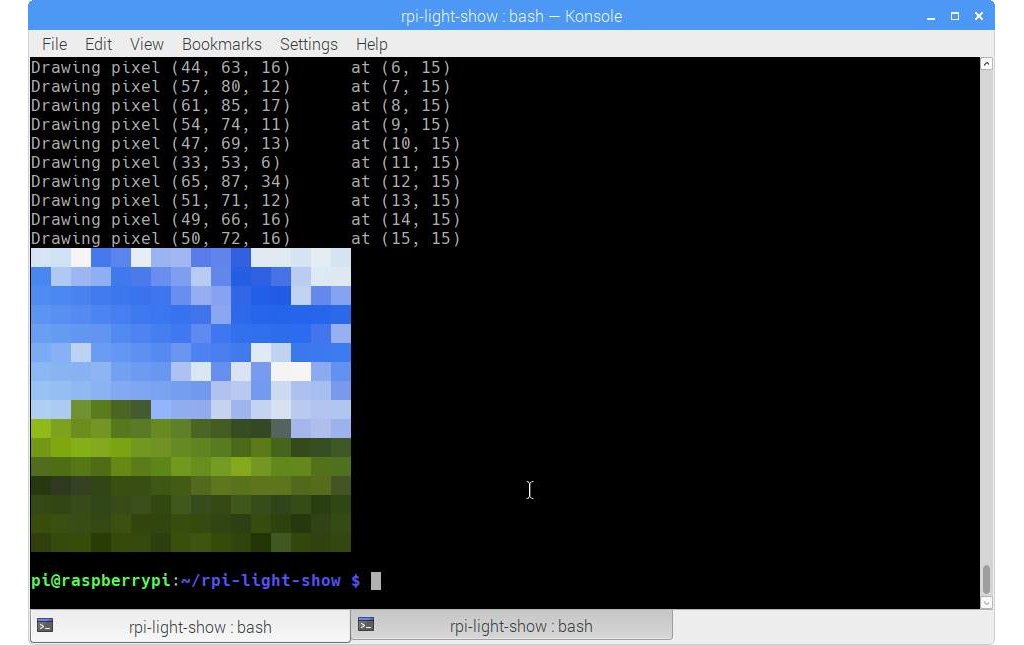
def draw_led_matrix(grid, image):
x = y = 0
for num, pixel in enumerate(image.getdata()):
debug_print("DEBUG: Drawing pixel %s\tat (%d, %d)\tnum=%s" % (pixel, x, y, num))
grid.set(x, y, pixel)
if x >= (image.width - 1):
y += 1
x = 0
else:
x += 1The executable calls these functions in the main() method after
setting up the grid and the rpi_ws281x library. The code below is a
simplification; you can find the whole thing over on
GitHub.
def main():
    parser = argparse.ArgumentParser(description='Project an image onto a LED matrix.')
    # -snip- init various command line args

    try:
        from rpi_ws281x import PixelStrip
    except ImportError:
         # -snip- stub code for debugging

    np = PixelStrip(args.boardsize**2, args.gpionum, brightness=LED_INTENSITY)
    np.begin()

    my_grid = led_grid.LEDGrid(np, grid.SerpentinePattern.TOP_RIGHT, args.boardsize, args.boardsize)

    image = process_image(args.filename, args.boardsize)
    draw_led_matrix(my_grid, image)
np.show()
Results Gallery

This one looks familiar...
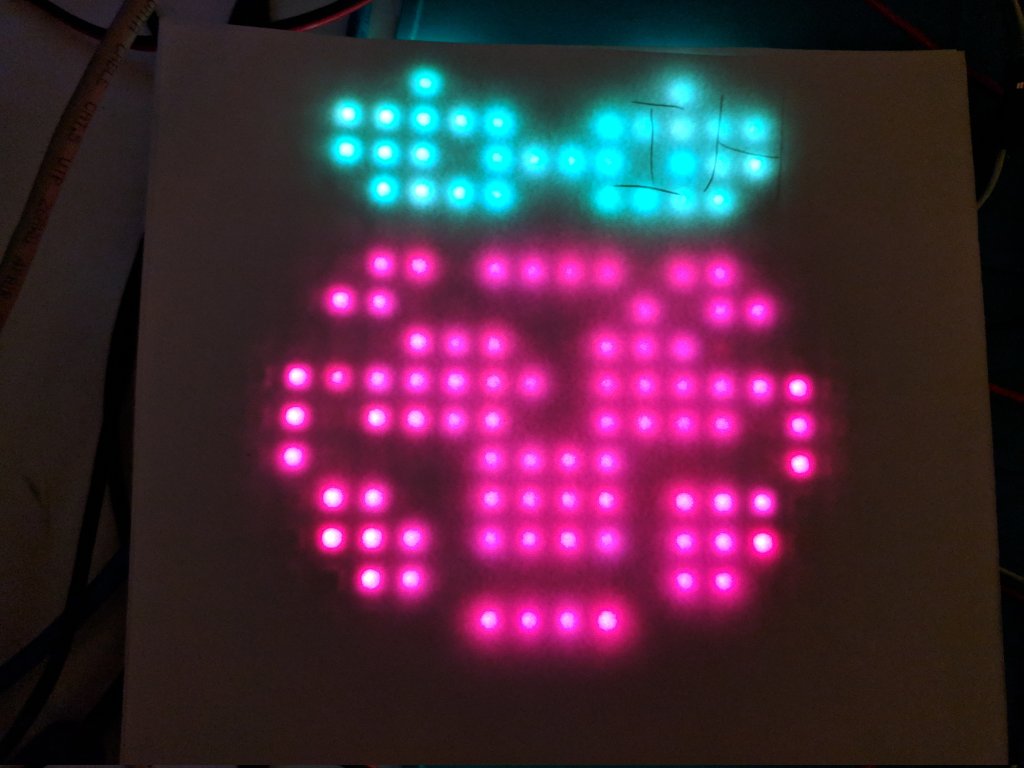
We scribbled "hi" on the sheet of paper covering the thing, but I forget why..
The top left looks strangely like a face to me...
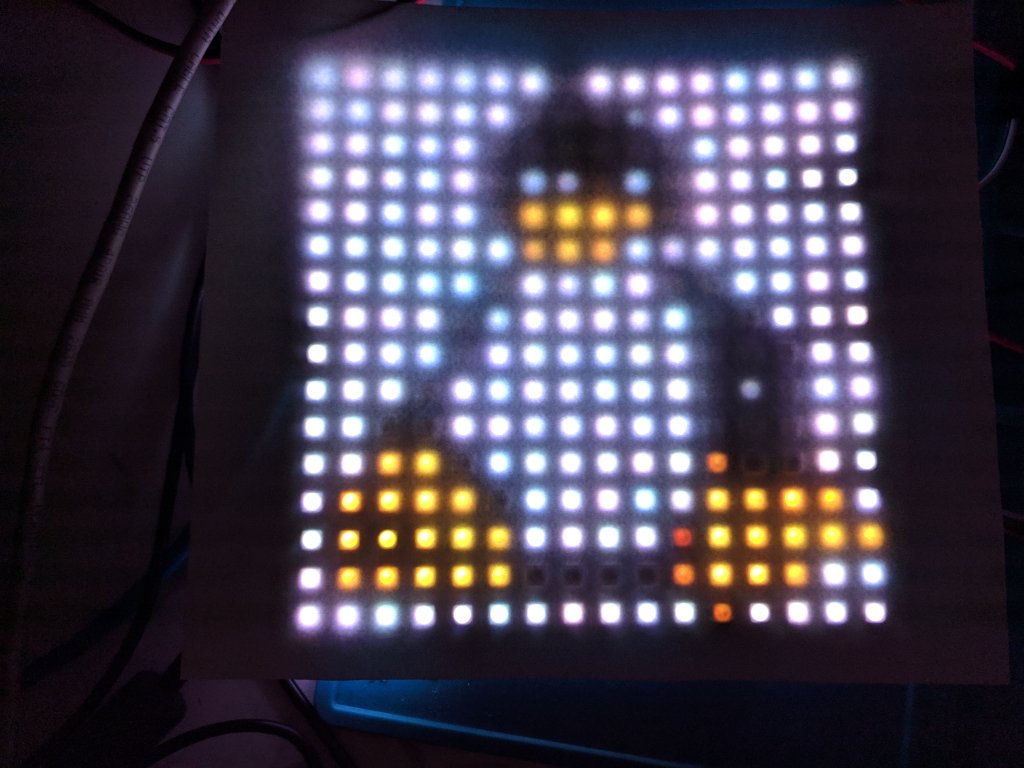
And of course, who could forget Tux!